How to Add a Second Remote Collar

Introduction
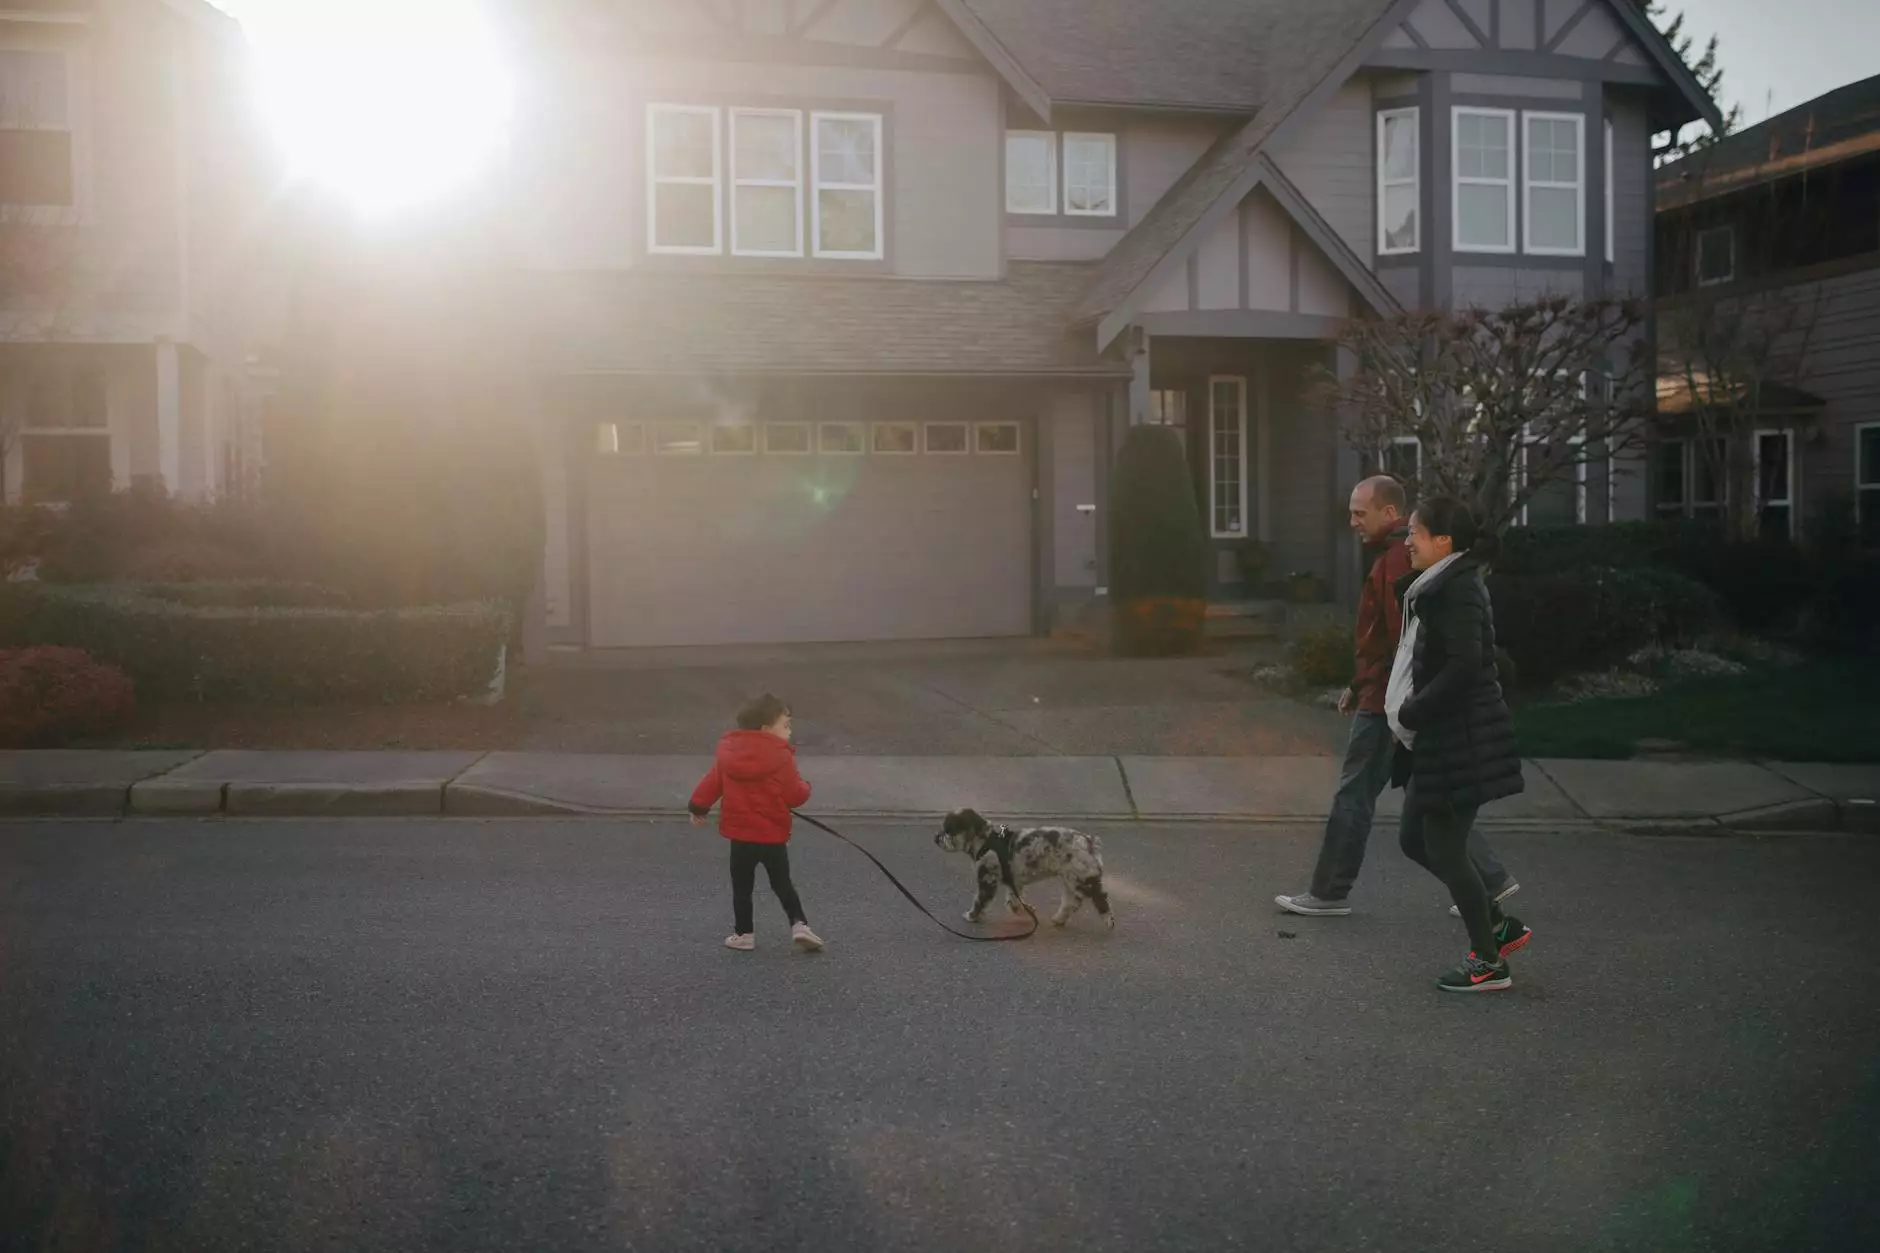
Welcome to Wisconsin Adventures' comprehensive guide on how to add a second remote collar to your training system. Whether you are a new pet owner or an experienced trainer, our step-by-step instructions will empower you to effectively train your dog with multiple remote collars.
Why Add a Second Remote Collar?
Adding a second remote collar to your training system can enhance the effectiveness of your dog's training. It allows you to control multiple dogs simultaneously, providing consistent commands and reinforcing desired behaviors in a dynamic and efficient manner.
Step-by-Step Guide to Adding a Second Remote Collar
Step 1: Choose the Right Remote Collar
Before adding a second remote collar, ensure that you select a high-quality collar that suits your specific training needs. Look for features such as adjustable intensity levels, waterproof design, and a reliable range. Wisconsin Adventures offers a range of remote collars designed to meet the requirements of different dog breeds and training objectives.
Step 2: Familiarize Yourself with the Manual
Read the instruction manual provided with your remote collar. Familiarize yourself with the functions, buttons, and settings. Understanding the collar's features will help you make the most of its training capabilities.
Step 3: Prepare Your Dog
Prior to using a second remote collar, it's essential to ensure that your dog has undergone basic obedience training and understands the commands associated with the primary collar. This foundation will facilitate a smoother transition to multiple collar training.
Step 4: Gradual Introductions
Introduce the second remote collar gradually. Allow your dog to acclimate to the new collar by using it alongside the primary collar for short periods initially. Monitor your dog's behavior and observe their response to the additional collar.
Step 5: Proper Placement
Ensure proper placement of the second remote collar on your dog's neck. Follow the manufacturer's guidelines to position the collar snugly, without causing discomfort. It's important to maintain consistent contact between the collar's contact probes and your dog's skin.
Step 6: Controlled Training Sessions
Start with controlled training sessions using both the primary and second remote collars. Focus on reinforcing known commands and behaviors, gradually transitioning to more complex training exercises. Maintain clear and consistent communication with your dog throughout the process.
Step 7: Positive Reinforcement
Utilize positive reinforcement techniques while training with multiple remote collars. Reward your dog with treats, praise, and affection when they exhibit the desired behavior. This positive association motivates your dog to repeat the desired actions.
Step 8: Monitor Progress
Regularly assess your dog's progress during training sessions. Observe their response to the commands delivered through both the primary and second remote collars. Adjust the intensity levels and settings as needed to ensure effective training without causing any discomfort.
Step 9: Consistency and Patience
Consistency and patience are key to successful training with multiple remote collars. Stick to a regular training schedule, be patient with your dog's learning curve, and provide clear and consistent signals. Remember that every dog is unique, and training progress may vary.
Conclusion
Congratulations! You have learned how to add a second remote collar to your training system. By following the step-by-step guide provided by Wisconsin Adventures, you are now equipped to train your dog effectively using multiple collars. Remember to prioritize your dog's comfort and well-being throughout the training process. With patience, consistency, and positive reinforcement, you can establish a strong bond and achieve desired training outcomes with your furry companion.
Wisconsin Adventures - Travel and Tourism